LCD user interface and quick start
The LCD sits in the middle of the top bar. It shows the state of the machine: the engine, the transport, the tempo, the position, the pattern, the kit and the lock count. A second line holds values that depend on the workspace. Most fields are also controls.
THE LCD USER INTERFACE #
MD manual p.9
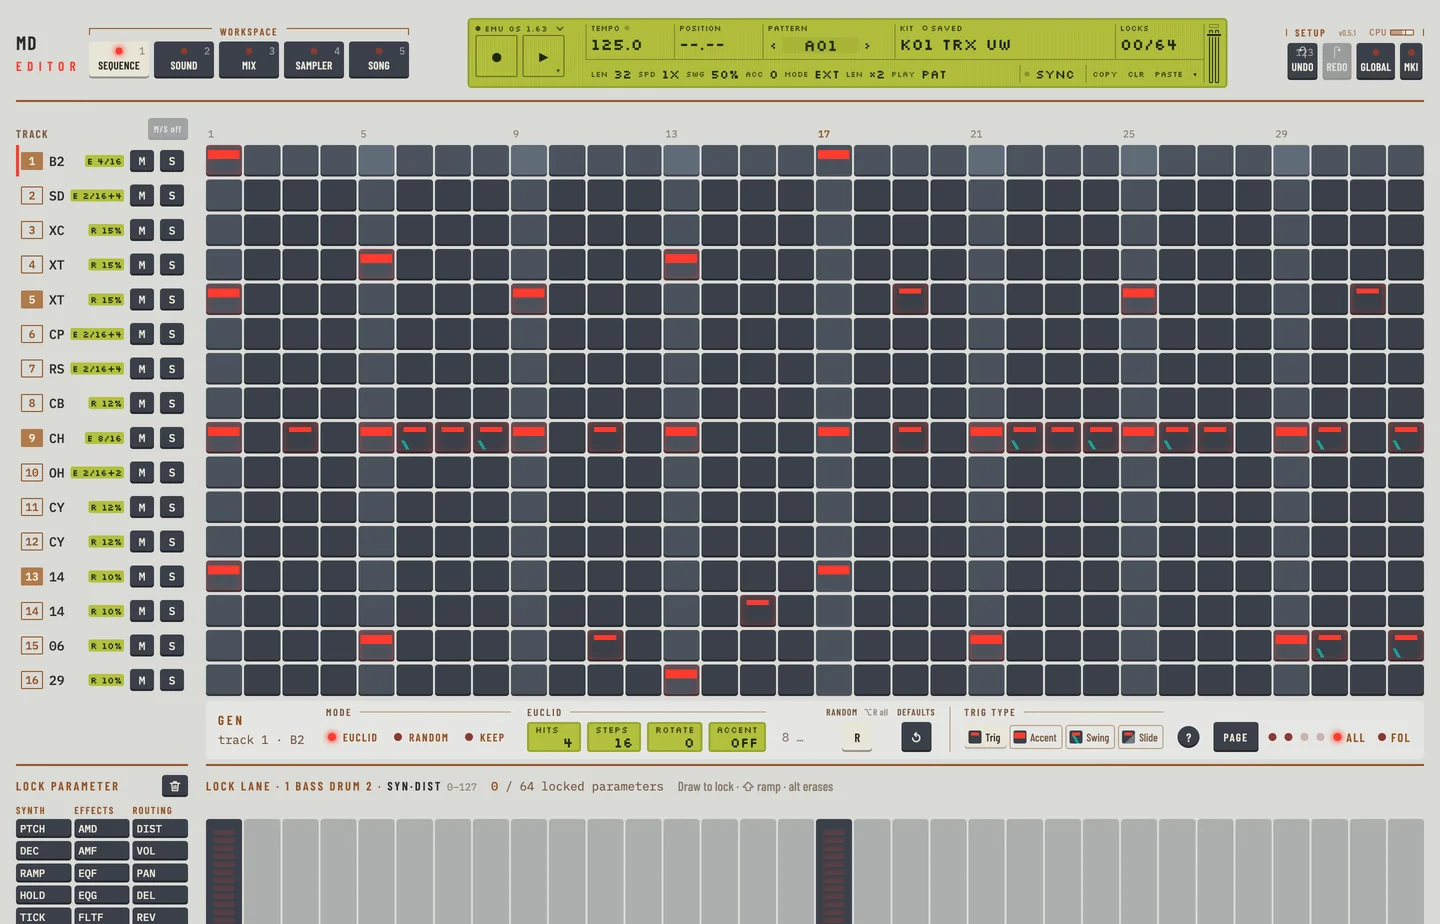
From left to right the LCD holds:
- The engine label with its LED, and the REC and Play keys.
- Tempo, with an LED that blinks on every fourth step while the machine plays.
- Position.
- Pattern, with ‹ and › keys.
- Kit, with a chip that reads saved or edited.
- Locks.
- The second line, the Sync field, and the Copy, Clr and Paste keys.
The engine label
The label says what the machine is doing. READY, with the engine's name (EMU OS 1.63), means it takes input. Until then the fields dim, REC and Play are off, and edits wait.
| Label | Meaning |
|---|---|
| NO ROM | no firmware is installed yet |
| LOADING ROM | the machine is being prepared or restored |
| BOOTING OS | the firmware is starting |
| EMU OS 1.63 | the emulated machine is ready |
| ROM ERROR | the firmware you installed is not OS 1.63 |
| HW CONNECT, HW NO MIDI | the editor is waiting for a real machine on MIDI |
Tempo
Tempo shows the tempo in BPM with one decimal, for example 124.0. Drag it up or down to change it, or tap it with [T] or [B]. Click it without dragging to open the TEMPO window, which has + and - keys for single BPM steps and a +10 % key. Chapter 1 describes both.
Position
Position shows the bar and step of the playhead, for example 02.05, in bars of 16 steps. It reads --.-- while the machine is stopped.
On the Pattern workspace the four page LEDs beside the Page key show the same thing as the machine's four pattern-page boxes: the page that plays is lit.
Transport
REC and the Play key have LEDs. The Play key shows ▶ while the machine is stopped and ■ while it plays. REC is lit during live recording.
While the machine is paused the Play key blinks and Position keeps the step the pause holds. The Play key then continues.
Kit
Kit shows the kit number and name, for example K01 WAREHOUSE. The chip beside the label reads saved when the kit on the machine is the one stored in its slot, and edited when you have changed it since. Click the field to open the kit library.
Pattern
Pattern shows the pattern that plays, for example A01. While another pattern waits for the end of the current one, the field shows the waiting pattern and blinks.
Locks
Locks counts the parameters locked in the pattern, out of the 64 the machine holds, for example 41/64. It changes its look at 52 and again at 64.
The second line
The second line shows values that belong to the workspace you are in.
| Workspace | Fields |
|---|---|
| Pattern | LEN, SPD, SWG, ACC, MODE, LEN ×2, PLAY |
| Kit | TRACK, MACHINE, the machine's name, PLAY |
| Mix | PATH, the signal path, PLAY |
| Song | SONG, ROWS, BARS, TIME, PLAY |
On the Kit workspace the machine key under the header also shows the machine and its family, for example EFM and FM drums.
Sync
The Sync field reads Sync when the editor is in step with the machine and Send while it sends your edits. When the machine follows the host's clock it reads Host. While the editor reads the machine's patterns, kits and songs in the background after start-up, it shows how many of them are read, as a count out of the total. You can edit while it reads.
Level
The machine shows the level of the track as a bar on its screen. The editor shows it on the Mix workspace: the bar inside each strip's LEV box fills with the track's level. Chapter 1 says how to set it.
Value boxes
Parameters appear as value boxes on the Kit and Mix workspaces. A box shows the parameter name and its value, 0 to 127. A few parameters run from one side to the other, or from cut to boost, and show -64 to +63 with 0 in the middle. They are PAN, EQG, the levels and balances of the RAM recorder, and the gains of the master EQ's CTR machine.
When two parameters depend on each other, the machine draws a small clip between their values. The Kit workspace draws the same clip, a small arch over the gap between the two boxes, for example between RAMP and RDEC on TRX-BD and between FLTF, FLTW and FLTQ on every machine. The editor groups the boxes by what they do, so the two boxes of a pair can sit in two groups. Point at a box to see which value it works with.
LAYER EDIT AND WINDOWS #
MD manual p.9
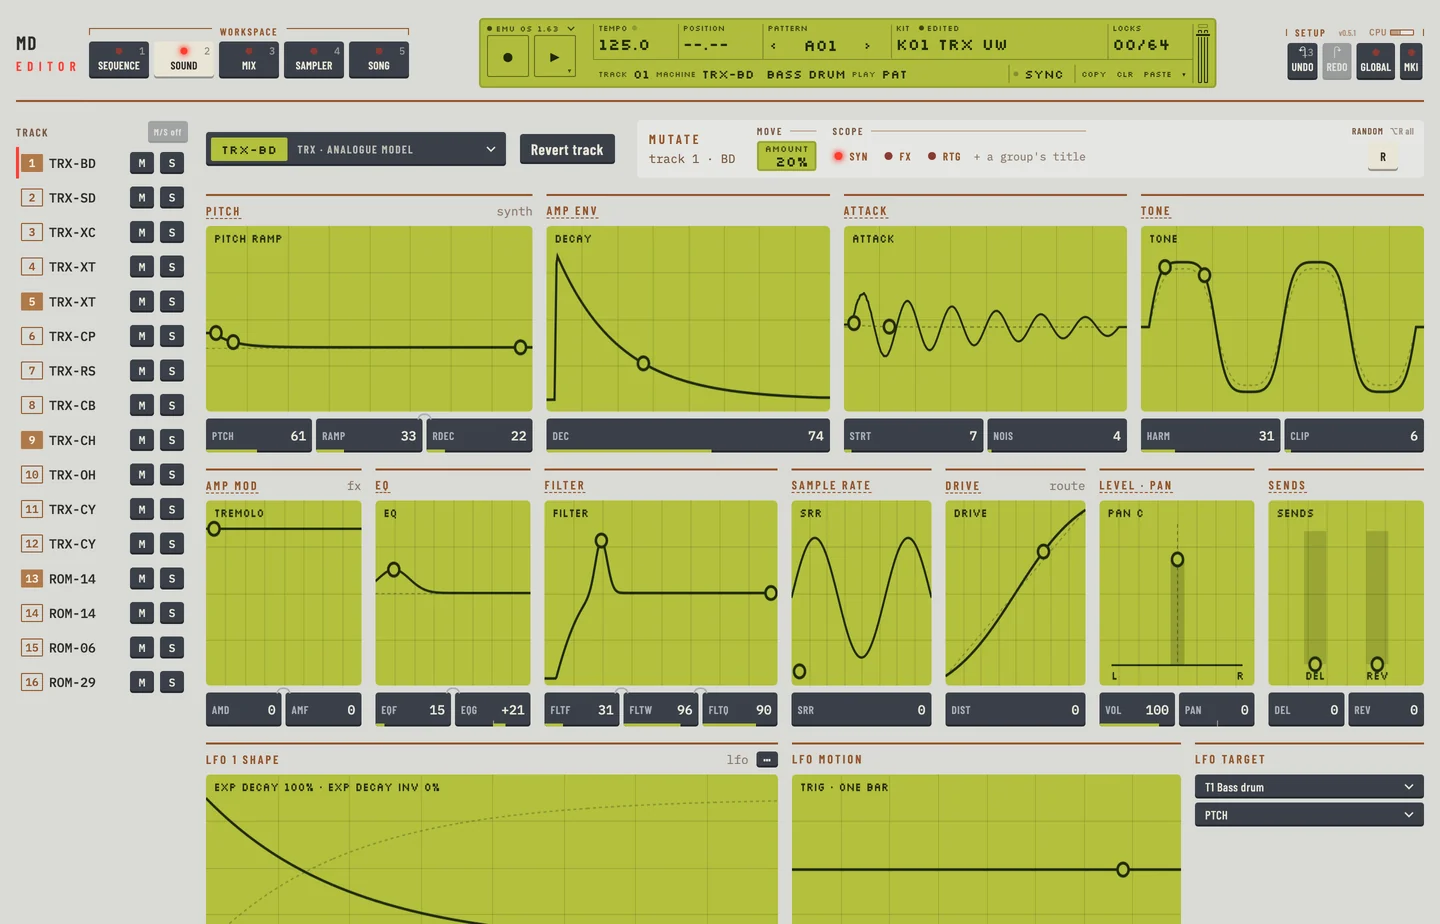
On the machine a window opens over the main screen and EXIT closes it. In the editor the machine picker, the kit library, the pattern chooser, the GLOBAL panel, the AUDIO / MIDI settings and the keyboard view open over the workspace. Press [ESC] to close the one that is open.
Press [?] to open the keyboard view. It lists every key and gesture of the editor.
QUICK START #
MD manual pp.10, 11
This is a first session. It loads a kit, places trigs, plays them and changes a sound.
Playing and tweaking drum sounds
- Click the Kit field of the LCD. The kit library opens.
- Click a kit. The machine loads it at once. If you have unsaved changes, the editor asks first.
- Press [ESC], then press [1] for the Pattern workspace.
- Click steps in the grid. A click on an empty step draws a trig. A click on a trig selects it. Double-click a trig to remove it. Each row of the grid is a track.
- Press [SPACE]. The pattern plays with your trigs. Press it again to stop.
- Click a track in the rail to select it. Press the keys A to L to play it by hand.
- Press [2] for the Kit workspace. Drag a value box to change the sound of the selected track.
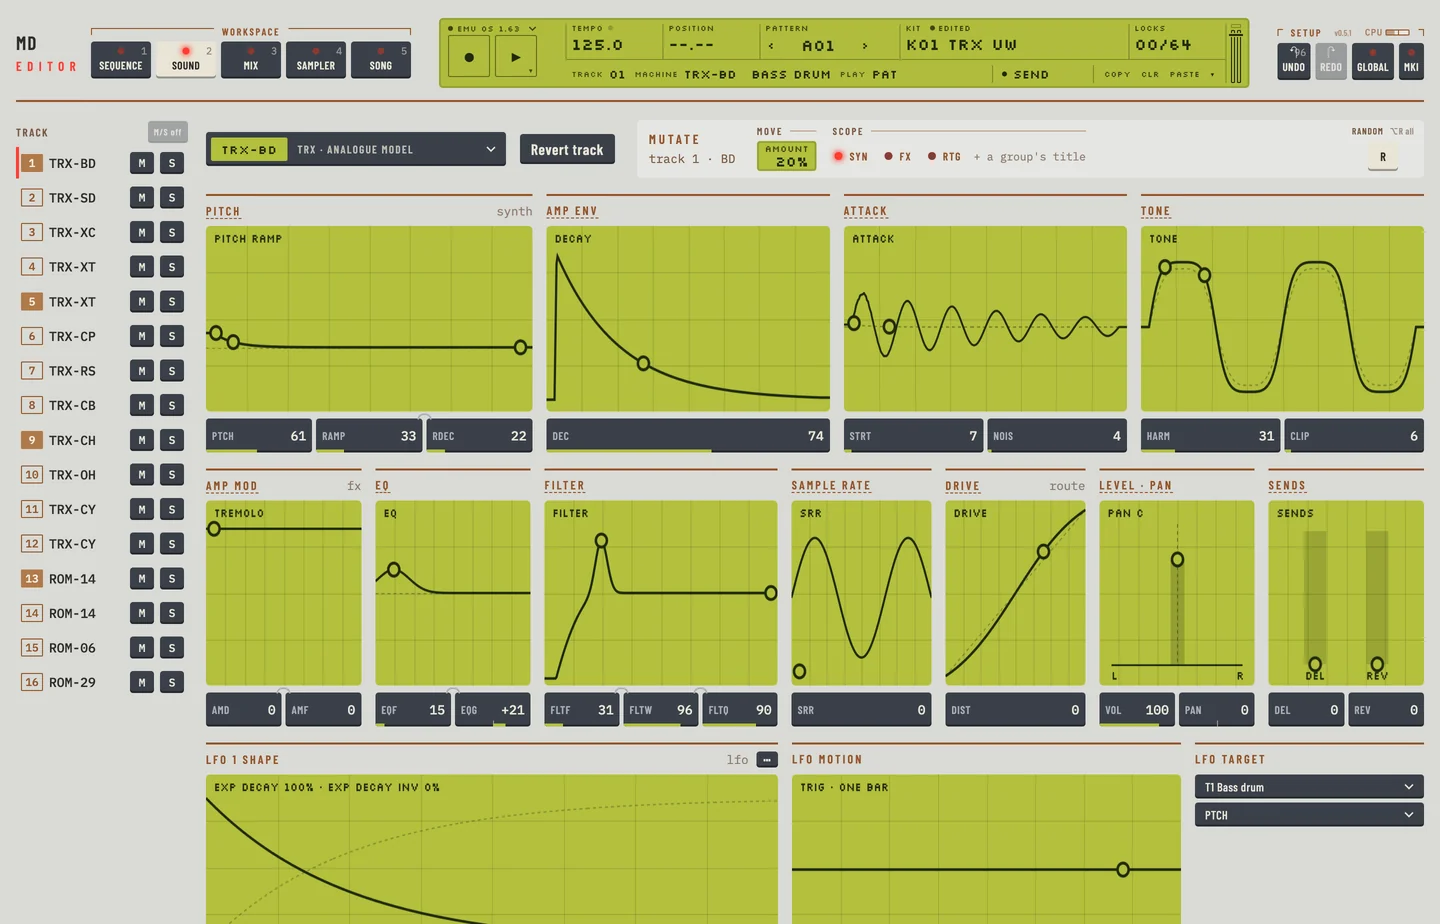
Turn a value in small steps when you need them. Hold [⇧] and drag for fine steps. Scroll the wheel over a box for one step a notch, and hold [⇧] for ten. Double-click a box to set it back to 64.
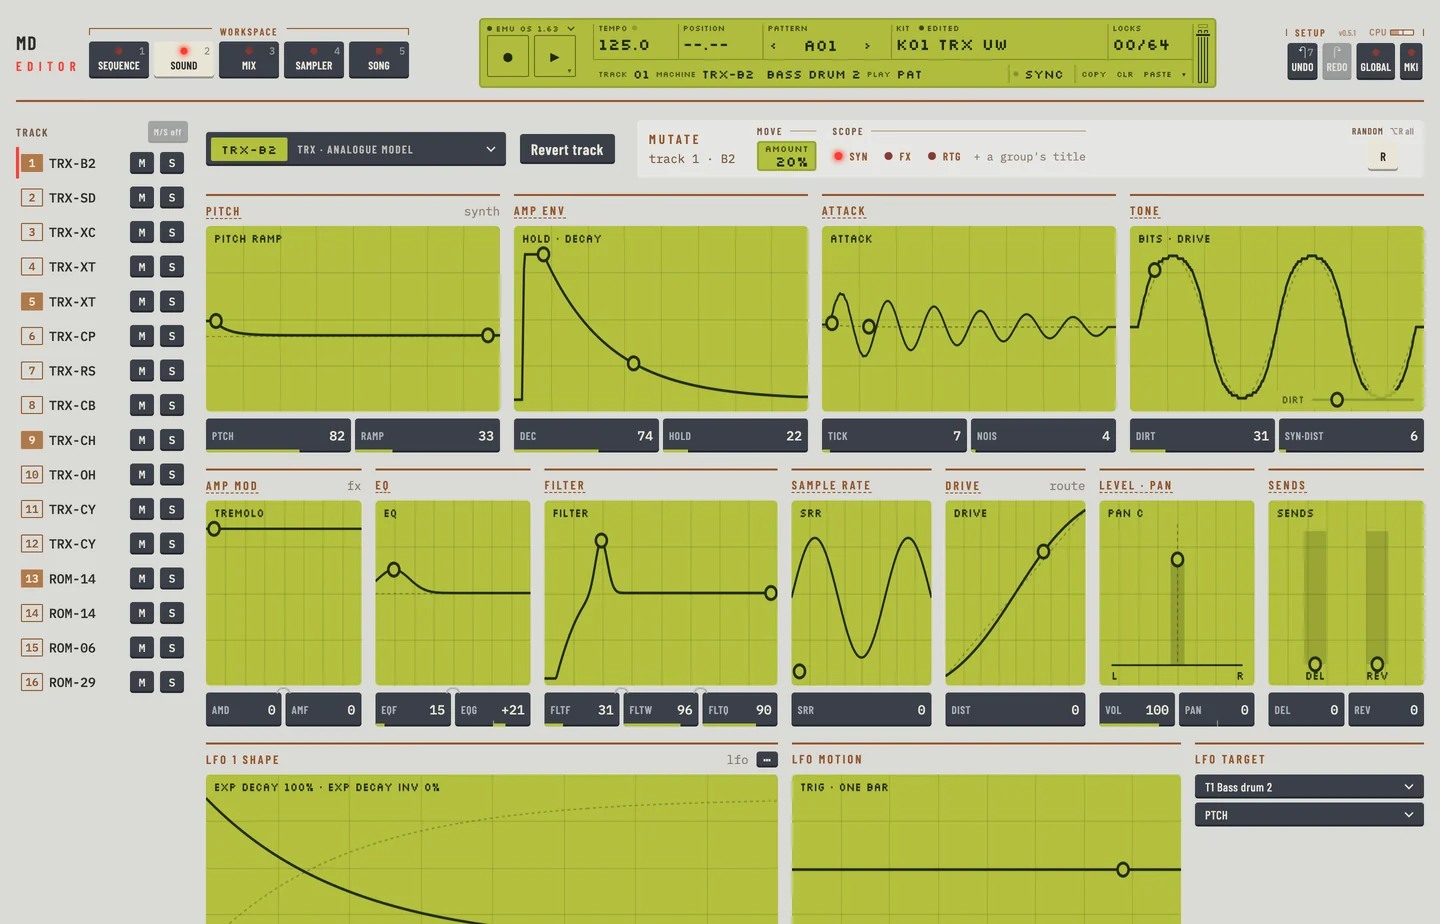
Hear a machine before loading it
In the machine picker you can hear a machine on the track before you keep it.
- Press [2] for the Kit workspace and select a track in the rail.
- Click the machine key under the header. The machine picker opens.
- Point at a machine and click its ▶, or move to it with [TAB] and press [SPACE]. The machine goes on the track and the track plays once. A line under the preview says which machine plays and which one was there before.
- Try other machines the same way. The picker stays open while you try.
- Press [ENTER] or click Keep to keep the machine, or click another machine to keep that one. Press [ESC] or click Back to put the old machine back.
The machine plays with the track's own values, so you hear it as it will be in the kit. The machine itself plays a new machine with its default values instead. Trying machines and keeping one is one step for [⌘] + [Z]: a single press brings back the track as it was before you started. During live recording the machine changes but no note plays, so no trig is recorded.
Using the track effects
Each track has an amplitude modulator, an EQ, a filter and a sample rate reducer. They are groups on the Kit workspace. Chapter 4 describes them.
Selecting and playing a pattern
Click the pattern name in the LCD to open the pattern chooser. Chapter 1 describes how to choose a pattern, and chapter 8 how the sequencer works.