Global settings
The global settings are the machine's own settings. They hold the MIDI channels, the map of notes to tracks and patterns, program change, the output of each track and the sync. They belong to the machine, not to a pattern or a kit.
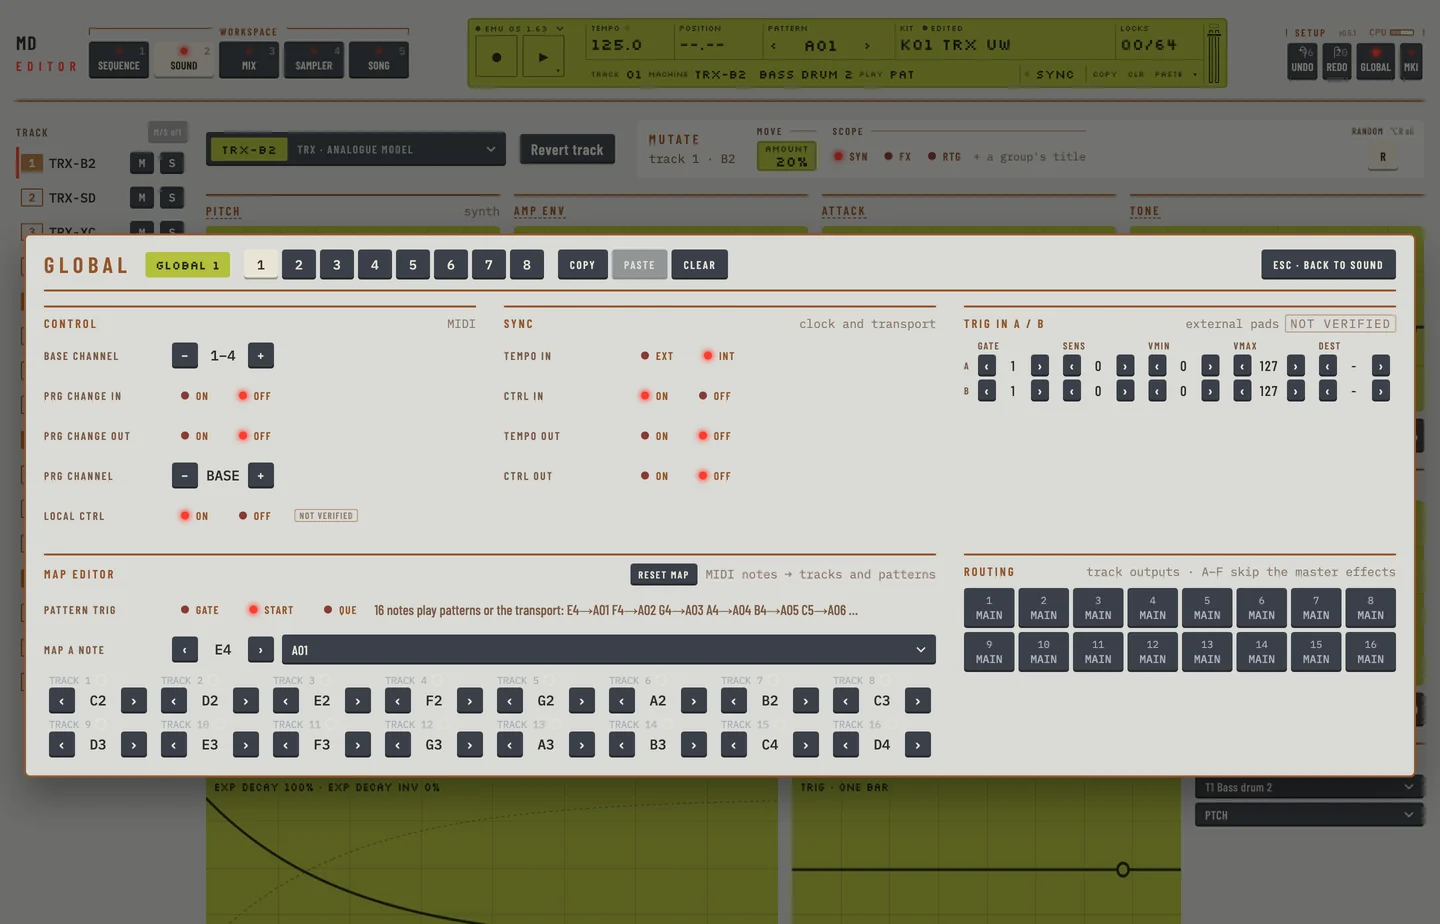
In the editor they sit on the GLOBAL page. It opens over the workspace, which dims behind it.
GLOBAL SETTINGS #
MD manual p.57
The machine keeps 8 globals. One is active. On the machine you open the settings with [FUNCTION] and [PATTERN/SONG].
To open the page:
- Click GLOBAL in the top bar. Or choose GLOBAL… in the engine menu, the menu you open from the engine name on the LCD.
- The page opens in the middle of the window. Its head reads GLOBAL and the number of the active global. The keys 1 to 8 are the 8 globals. The lit key is the active one.
- Click a key to make that global the active one.
- Press [ESC], or click the key at the right of the head, to go back to the workspace. A click beside the page does not close it.
Every change is stored in the active global and made active at once. There is nothing to save.
The page has five cards: Control, Sync, Trig in A / B, Map editor and Routing.
Copy, paste and clear a global
The head has the keys Copy, Paste and Clear. They act on the active global.
- Click Copy. The editor keeps all the settings of the active global. Paste is now on.
- Click the key of another global to make it active.
- Click Paste. The editor asks first, because the settings of that global are replaced. Click Paste to go on, or Cancel.
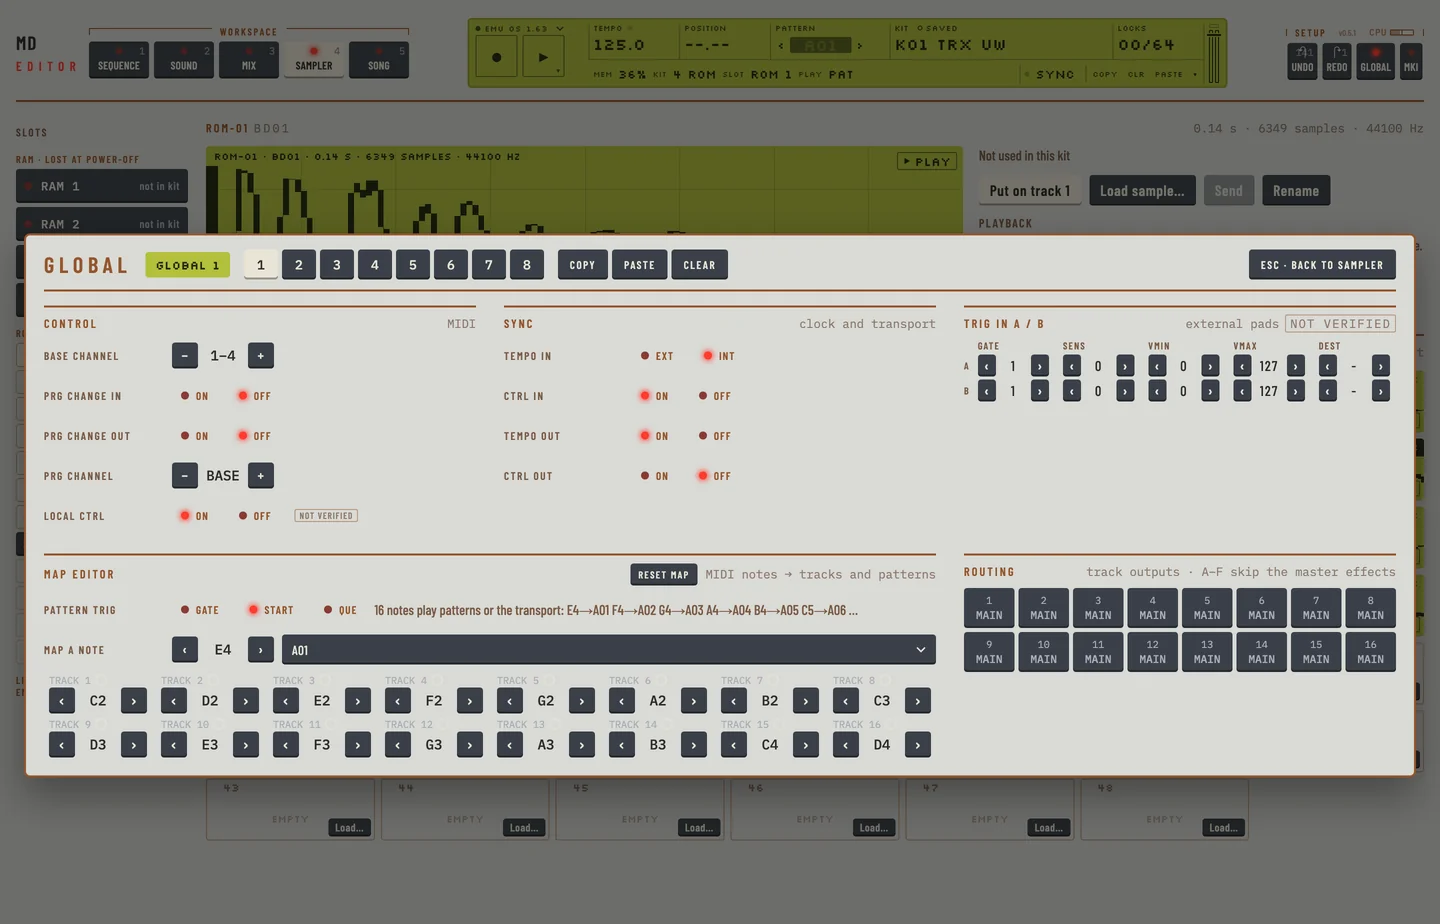
To put the active global back to how the machine shipped, click Clear. The editor asks first. Click Clear to go on, or Cancel.
Undo takes back a paste or a clear, as any other edit.
BASE CHANNEL #
MD manual p.59
The base channel is the first of four MIDI channels the machine listens and sends on: channel n to channel n+3.
In the Control card, click − or + beside Base channel. The value reads the four channels, for example 1 to 4. It steps one channel at a time, up to 13 to 16.
The machine takes notes, program changes and controllers on these four channels only. A DAW drum track on another channel, for example channel 10, plays nothing until the base channel puts that channel among the four or the notes are sent on channels 1 to 4.
MAP EDITOR #
MD manual pp.59, 60, C-3
The map editor says which MIDI note plays what. A note can play a track, start a pattern, or start or stop the machine. The Map editor card has the sixteen track keys and the controls for the other notes.
Notes for the tracks
Each of the sixteen keys is named TRACK 1 to TRACK 16. It shows the note that plays the track, or -- when the track has none. Click ‹ or › on a key to move the note down or up. Notes are named as C4, C#4 and so on, from 0 to 127.
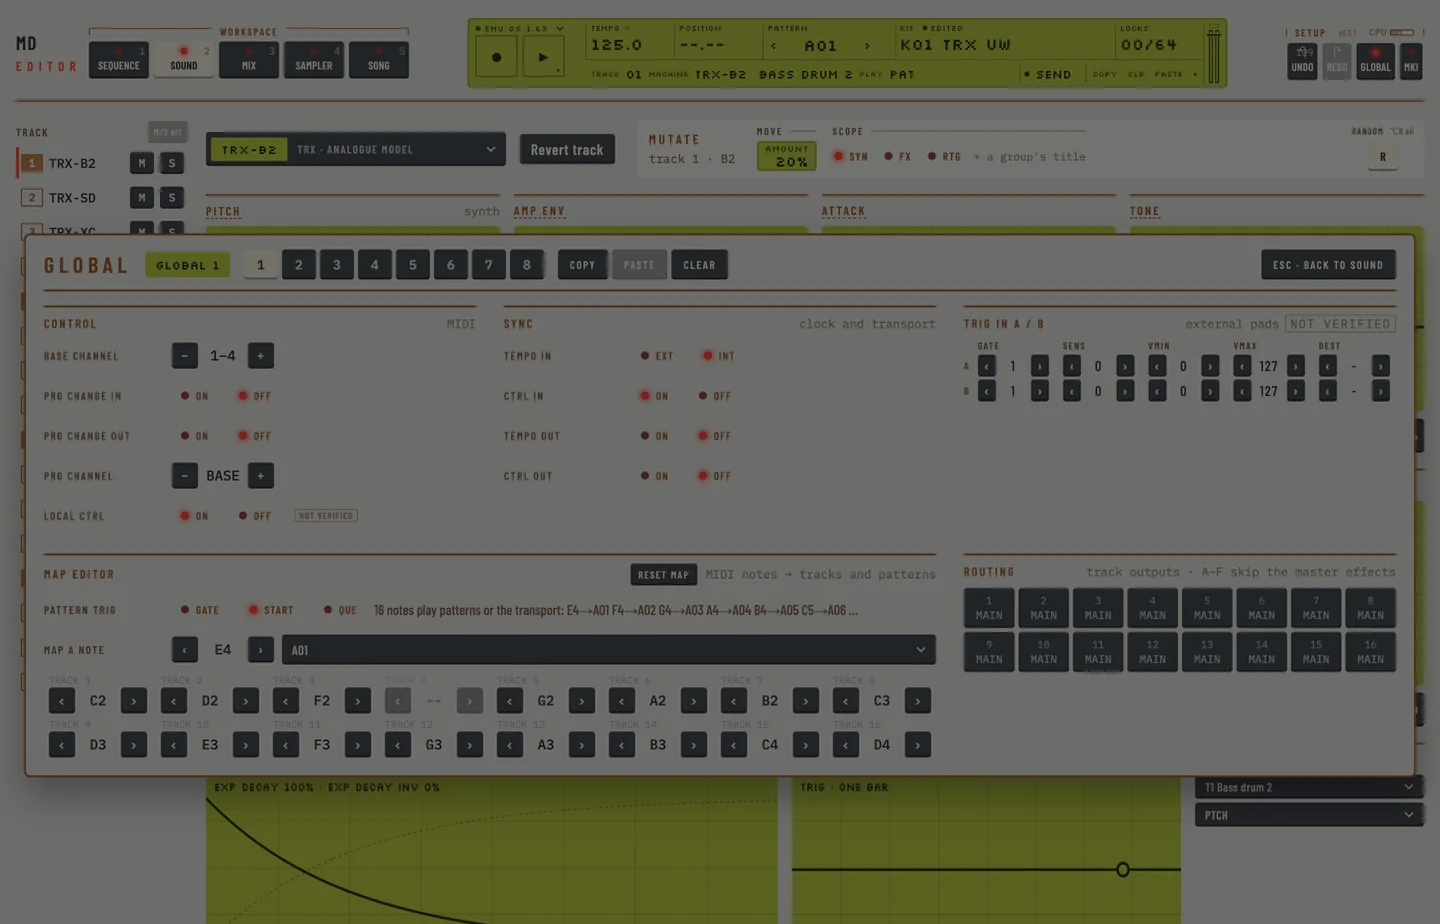
When a MIDI keyboard plays a track's note on the base channel, the track's number in the track rail glows for a moment, and so does its light on the Mix workspace. A note on another channel lights nothing.
Notes from a DAW or a port
A note from the host, a MIDI port or a keyboard goes to the firmware's MIDI input through this map, as it does on the real machine. It plays the track the map gives it, on any of the four channels from the base channel. After you change a track's note, the new note plays it and the old one plays nothing. With GRID RECORD on, notes from the host do not write steps into the pattern.
Notes for patterns and the transport
- Beside Map a note, click ‹ or › to choose the note.
- Choose from the menu what the note plays: nothing, a track, a pattern A01 to H16, START or STOP.
A note plays one thing. If you give it a new job, it leaves the old one. The line beside Pattern trig lists the notes that play patterns or the transport.
How a pattern note starts
Beside Pattern trig, click one of:
- GATE: the pattern plays while the key is held.
- START: the pattern starts at once.
- QUE: the pattern starts at the end of the pattern that plays.
Learn a note from a keyboard
You can give a track its note by playing the note on a MIDI keyboard, as you do on the machine.
- Connect the keyboard to the MIDI input of the editor: the MIDI input of the standalone, or the MIDI track of the plug-in in your DAW.
- Click the round dot beside the name of a track key, for example TRACK 3. The dot lights. The head of the card reads LEARN and the track.
- Play a note on the keyboard. The note now plays the track, and the dot goes out. The key shows the note.
Click the lit dot again to stop without a note. Going back to the workspace stops it too.
Reset the map
- Click Reset map in the head of the Map editor card.
- The editor asks first. Click Reset map to go on, or Cancel.
The map goes back to the one Elektron gives the machine: the tracks from C2, the patterns from E4. The rest of the global stays. Undo brings your map back.
LOCAL CONTROL #
MD manual p.60
Local control sets whether the keys and the sequencer of the machine play its own sounds. In the Control card, click ON or OFF beside Local ctrl. With OFF the keys and the sequencer do not play the internal sounds.
PROGRAM CHANGE #
MD manual p.61
In the Control card:
- Prg change in: ON makes a MIDI program change choose a pattern.
- Prg change out: ON makes the machine send a program change when a pattern is chosen.
- Prg channel: click − or + to choose the channel, 1 to 16. BASE means the four base channels for the messages in, and the first of them for the messages out.
In a DAW a clip's program change, or one sent by a MIDI track, reaches the machine on the channel the host chose and picks the pattern when Prg change in is ON. With Prg change out ON the pattern you choose in the editor sends one to the DAW or the standalone's output.
MECHANICAL SETTINGS (MKII UNITS ONLY) #
MD manual p.61
The machine sets the resolution of its knobs here: 24 or 32 steps. The editor has no knobs, so it has no such setting.
OUTPUT #
MD manual p.62
Each track plays on the main output, through the master effects, or on one of the individual outputs A to F, which skip the master effects.
In the Routing card the sixteen keys show the output of each track: MAIN, or A to F. Click a key to go to the next output: MAIN, A, B, C, D, E, F, then MAIN again.
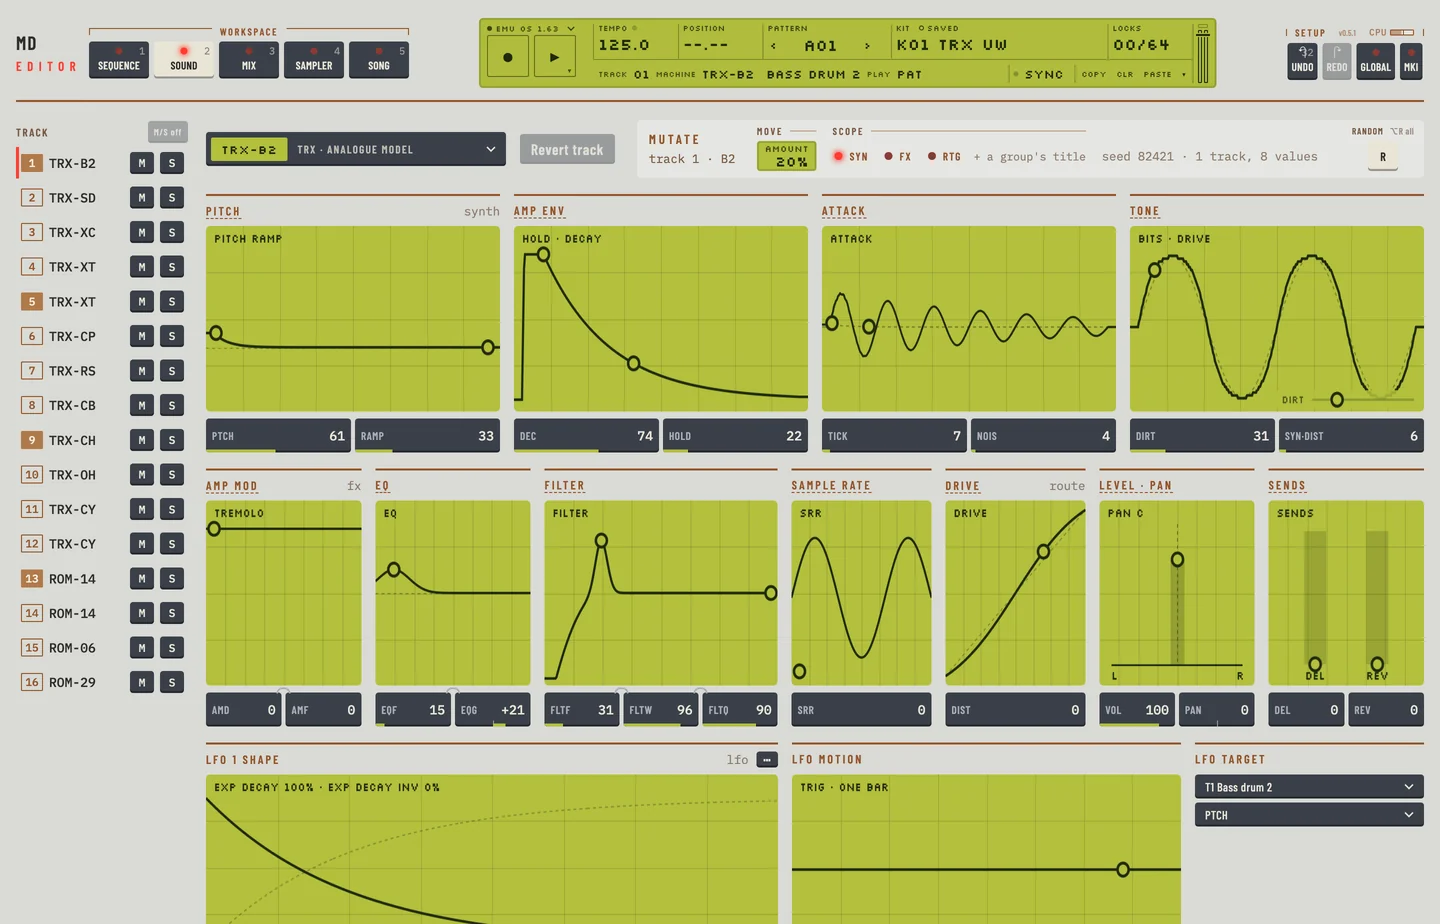
You can also click OUT on the strip of the track in the Mix workspace. Delay and reverb sends reach only the main outputs, so a track on an individual output keeps those values but does not use them.
TRIG #
MD manual p.63
The two trig inputs of the machine turn the pulses of a pad into notes. On the machine they are in the ROUTING menu. The Trig in A / B card has a row for each input, A and B, with five values:
- Gate, Sens, Vmin and Vmax: 0 to 127.
- Dest: the track a pulse plays, T1 to T16, or - for none.
To change a value, click ‹ or › beside it. Hold [⇧] and click to move it by 10. Dest runs from - to T1, T2 and up to T16, as the knob of the machine does.
ALL DATA SYSEX SEND #
MD manual p.64
On the machine you send SysEx to another device. In the editor you write it to a .syx file on your computer.
- Open the engine menu (the engine name at the left of the LCD) and choose EXPORT SYSEX…. The Export SysEx panel opens.
- All is ticked. The line at the foot says how many kits, patterns, songs and globals the editor holds.
- Click Save .syx… and choose where to put the file. The name starts as the product name and "backup.syx", in your Documents folder.
The file holds every pattern, kit and song the editor has, and the globals. It is one file.
GLOBAL SYSEX SEND #
MD manual p.66
- Open Export SysEx… as above and untick All. Each kind shows its own row with a range.
- Tick Globals. Untick the kinds you do not want.
- Set the first and the last global of the range. Click a value to step it up, [⇧]-click to step it down, or turn the wheel, drag up or down, or use the arrow keys. G1 to G1 sends one global, G1 to G8 sends them all.
- Click Save .syx….
Globals are not ticked until you tick them. They hold the MIDI channels and the sync settings.
SONG + PATTERN (+ KIT) SYSEX SEND #
MD manual p.66
- Open Export SysEx… and untick All.
- Tick Songs and set the range of songs.
- Tick Patterns and Kits too, with their ranges, if the file must play on its own.
- Click Save .syx….
PATTERN (+ KIT) SYSEX SEND #
MD manual p.66
- Open Export SysEx… and untick All.
- Tick Patterns and set the range, for example A01 to B16.
- Tick Kits and set their range if you want the kits of those patterns too.
- Click Save .syx…. The line at the foot names each kind and its range before you save.
KIT SYSEX SEND #
MD manual p.66
- Open Export SysEx… and untick All.
- Tick Kits only and set the range, for example K01 to K12.
- Click Save .syx….
The editor writes the kits it holds. A message at the end says how many of each kind went into the file.
GENERAL SYSEX RECEIVE #
MD manual p.67
The machine takes SysEx at any time. In the editor you open the file first and choose what to send.
- Choose IMPORT SYSEX… in the engine menu. Or drop the .syx file on the window. Drag and drop works on macOS only.
- Choose the file. The Import SysEx panel opens. Its header names the model and says "full backup" when the file is one.
- Read the tabs: Kits, Patterns, Songs, Globals and Other. A tab shows the slots of the machine as a grid, and the number of items of that kind in the file. Each tab has a box: tick it to send that kind.
- A slot in the grid is marked when it overwrites a slot that holds data on the machine. A slot marked ▶ plays now. Click a slot to leave it out. Click it again to take it back. Click with [⇧] to change a range.
- Click All, Empty slots only or None to set the whole tab.
- Read the line at the foot. It says how many slots on the machine are overwritten.
- Click Import. The button says how many items it sends.
The tick Read back and compare, beside Verify only, is on at first and stays as you set it. With it on, the import reads every slot back after Send and compares it with the file. With it off, the import ends after Send. The report then says how many items were sent and that they were not read back.
While the import runs, the panel shows three steps: Read the slots, Send and Read back, and a bar for each kind. Click Stop to cancel or Hide to put the panel away. The import goes on: IMPORT SYSEX… in the engine menu shows the panel again, with its report when it is done. While it runs, [ESC] and a click beside the panel leave it open. The panel keeps one size from the preview to the report.
At the end the panel gives a report, slot by slot:
| Mark | Meaning |
|---|---|
| ✓ | taken as in the file |
| ≈ | converted |
| ✕ | ignored |
| ≠ | different from the file |
| → | sent, not read back |
| ~ | not comparable |
| ? | no answer, or not known |
Click Show problems only to list only the slots that did not go as in the file. Click Done to close the panel.
ORIGINAL PLACE SYSEX RECEIVE #
MD manual p.68
The import puts each item in the slot it came from, as the machine does with ORIG. This is the default: Original place is lit in the Place row under the grid.
SPECIFIC PLACE SYSEX RECEIVE #
MD manual p.68
With SPEC the machine writes the items from a slot you choose. In the editor each kind has its own first slot.
- Open the file with Import SysEx….
- Click Specific place in the Place row. A value appears for the kind of the tab shown, for example Kits from K01. It starts at the file's first slot, so nothing moves yet.
- Set the first slot: click it to step it up, [⇧]-click to step it down, or turn the wheel, drag or use the arrow keys. The grid moves the items to the slots they land in. Each item keeps its place after the first, gaps included. Hover over a slot to see where it came from in the file.
- Choose another tab to set the first slot of that kind.
- Click Import. When an item lands on a slot that holds data, the editor asks first and names the slots. Click Import in the question to go on, or Cancel.
An item that would land past the last slot of the machine is not sent. Original place puts every item back where it came from.
SYSEX VERIFY #
MD manual p.69
VERIFY compares a file with the machine and writes nothing.
- Open the file with Import SysEx… and choose the kinds and slots as for an import. Specific place works here too.
- Click Verify only, beside Import.
- The editor reads each slot the items land in and compares it with the file. The bar shows how far it is.
The report marks each slot:
| Mark | Meaning |
|---|---|
| = | the same as the file |
| ≠ | different from the file |
| ? | no answer |
The line at the foot says how many slots are the same. Nothing was written to the machine.
An import reads every item back as well, unless you have turned off Read back and compare. Its report lists the items that differ from the file, marked ≠.
SYNC #
MD manual pp.75, 76, 77, 78
The Sync card sets how the machine takes and sends the MIDI clock and the transport.
Tempo in
Beside Tempo in, click:
- INT: the machine runs at its own tempo.
- EXT: the machine follows the MIDI clock it receives. MIDI Start waits for the clock.
In a DAW, EXT follows the tempo and transport of the host, and a new plug-in starts so. INT runs the machine on its own clock there: no clock from the host reaches it and the host's Play does not start it. The project keeps the choice. In the standalone, EXT follows the clock that arrives at a MIDI input. See "EXTERNAL SYNCHRONIZATION" in chapter 8.
Ctrl in
Beside Ctrl in, click ON to make the machine react to MIDI Start, Stop and Continue. Click OFF to make it ignore them.
Tempo out
Beside Tempo out, click ON to make the machine send the MIDI clock. Click it again to put it back. The clock goes to the standalone's MIDI output, or to the plug-in's MIDI output in a DAW.
Ctrl out
Beside Ctrl out, click ON to make the machine send MIDI Start, Stop and Continue.