Monomachine overview
The Monomachine has six synth tracks. Each track has its own machine, filter, amp, effects, delay and three LFOs. The sequencer plays the six tracks from one pattern, and six MIDI tracks beside them. The keyboard can play the tracks one at a time, all together, or as a trigger for patterns.
SIX INDIVIDUAL TRACKS #
MM manual p.1-15
The six tracks are independent. A kit holds a machine for each and a full set of parameters. In the editor:
- The track rail at the left lists the tracks T1 to T6 with their machines.
- The Kit workspace edits the selected track.
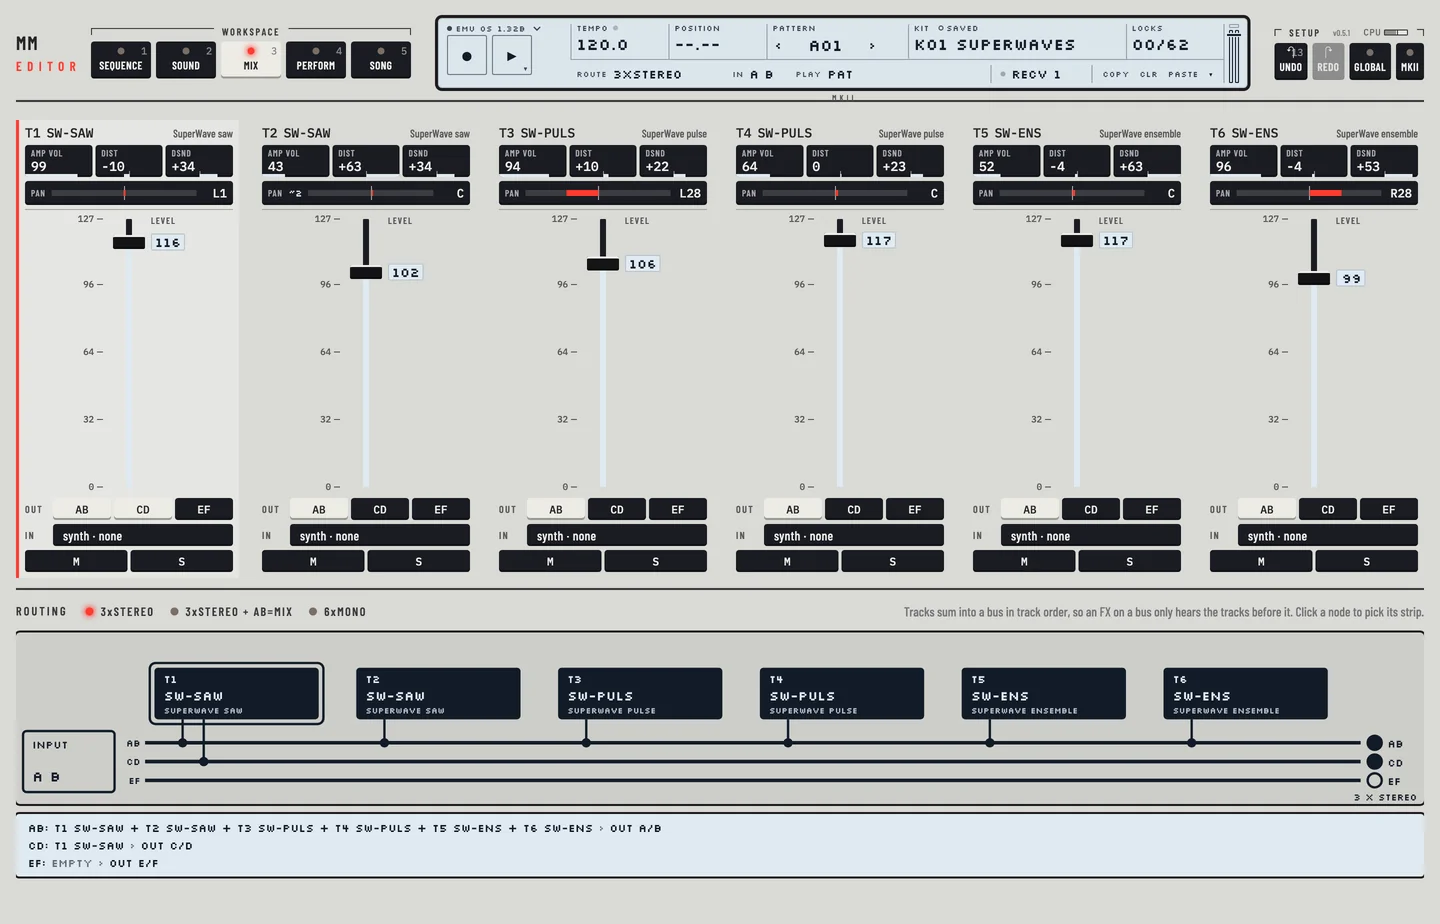
- The Mix workspace shows the six tracks side by side, each with its own level, pan and routing.
Chapter 6 describes the machines and kits.
SIX TRACK SEQUENCING #
MM manual p.1-15
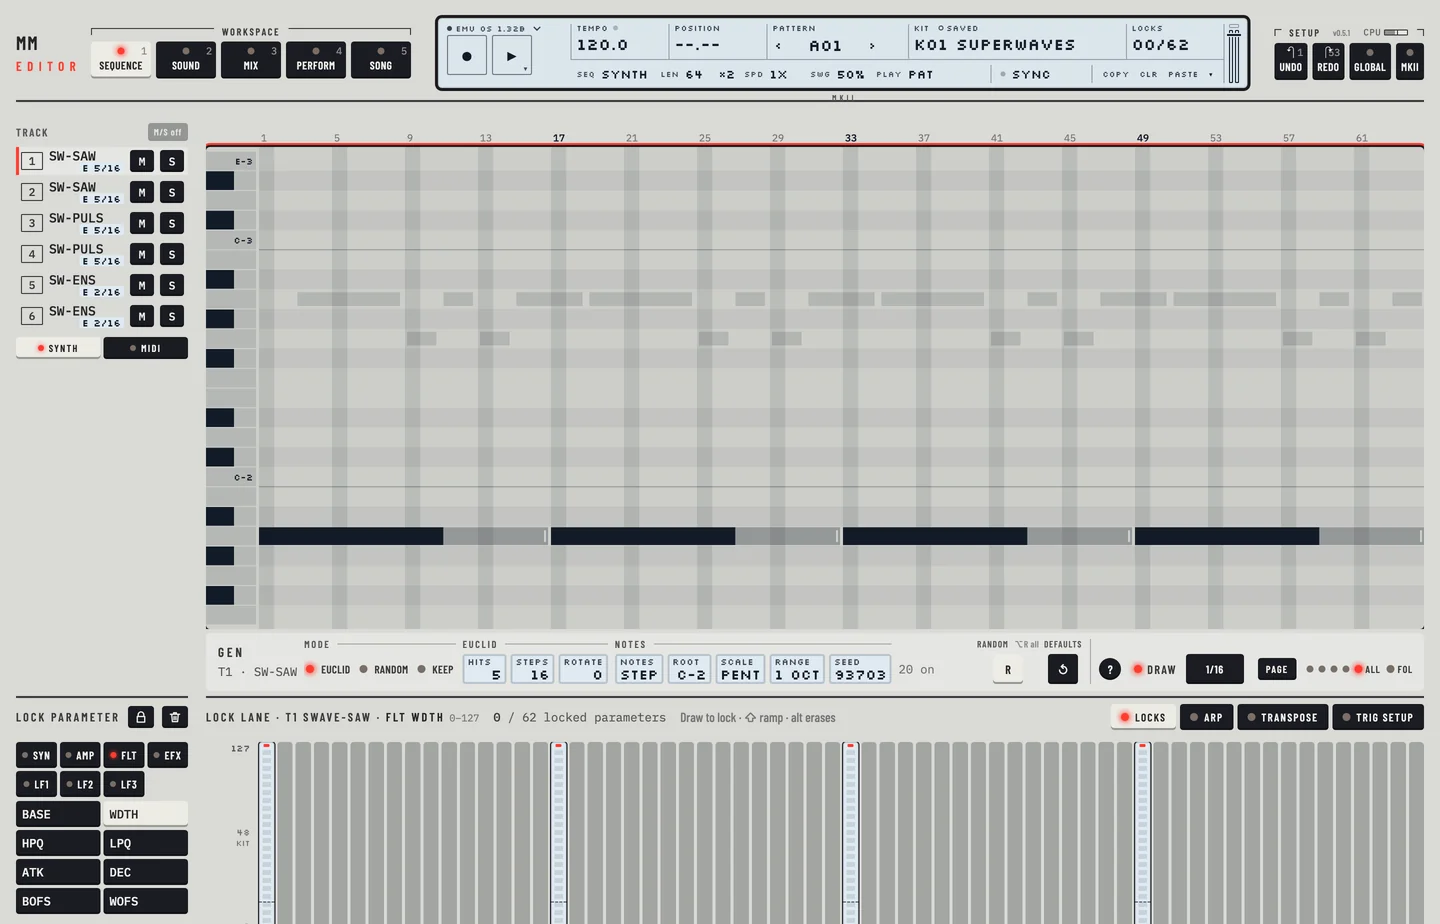
A pattern holds the notes, the envelope trigs and the parameter locks of the six tracks. The Pattern workspace edits them: a piano roll for notes, with small marks on the notes for envelope trigs, slide, swing and locks, and a lock lane for the parameters. Chapters 10 to 15 describe the sequencer.
MIDI SEQUENCING #
MM manual p.1-15
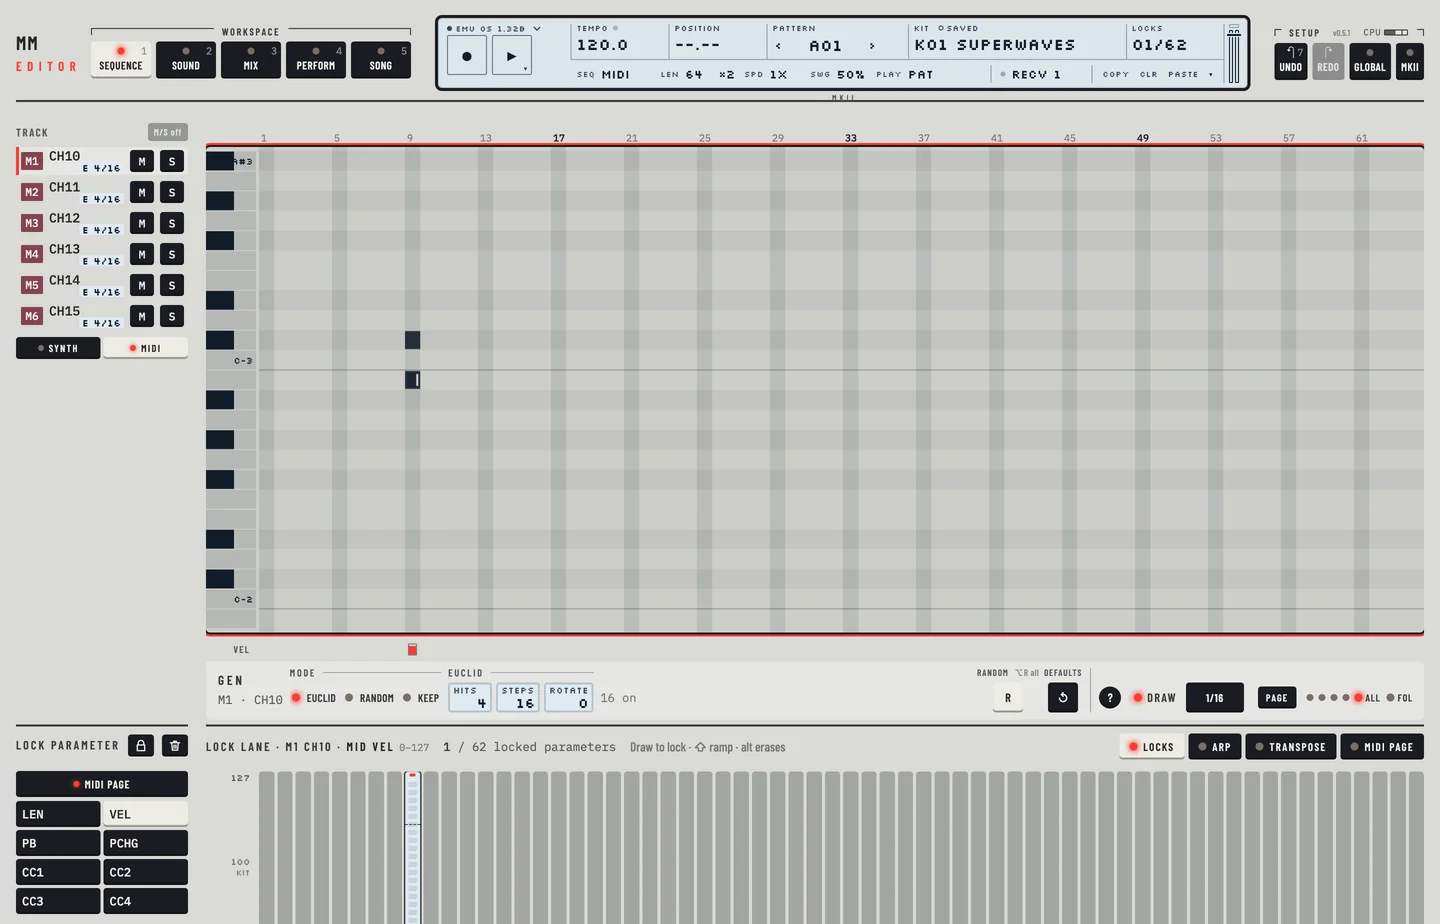
Six more tracks in each pattern send MIDI notes. Click MIDI in the track rail of the Pattern workspace to edit them. The rail then lists M1 to M6, each with its MIDI channel. The Kit workspace shows the MIDI page of the selected MIDI track: note length and velocity, pitch bend and program change, and four controllers. Chapter 16 describes the MIDI sequencer.
- Click Pattern, pick track 1 in the rail and check that Draw is lit.
- Click MIDI. The rail lists M1 to M6, each with its own roll.
- Click a note into each of the six MIDI tracks. Only that track changes: no other MIDI track and no synth track.
- Hold [⇧] and click another pitch on a note of M1. The step holds a chord, and all its notes share one length.
POLY MODE #
MM manual p.1-15
In poly mode all six synth engines play one track, the track in focus, so it has six voices. The other five tracks are silent, and so are notes sent on their MIDI channels.
- Go to the Perform workspace ([4]).
- Select the track with the numbered keys in the title of the Assign card.
- In the Keyboard card, click Poly. The editor presses the [TRACK] key of that track on the machine, so the track you see is the track that plays.
- Play the keyboard. The machine also takes the notes of the track on its own MIDI channel and on the auto channel.
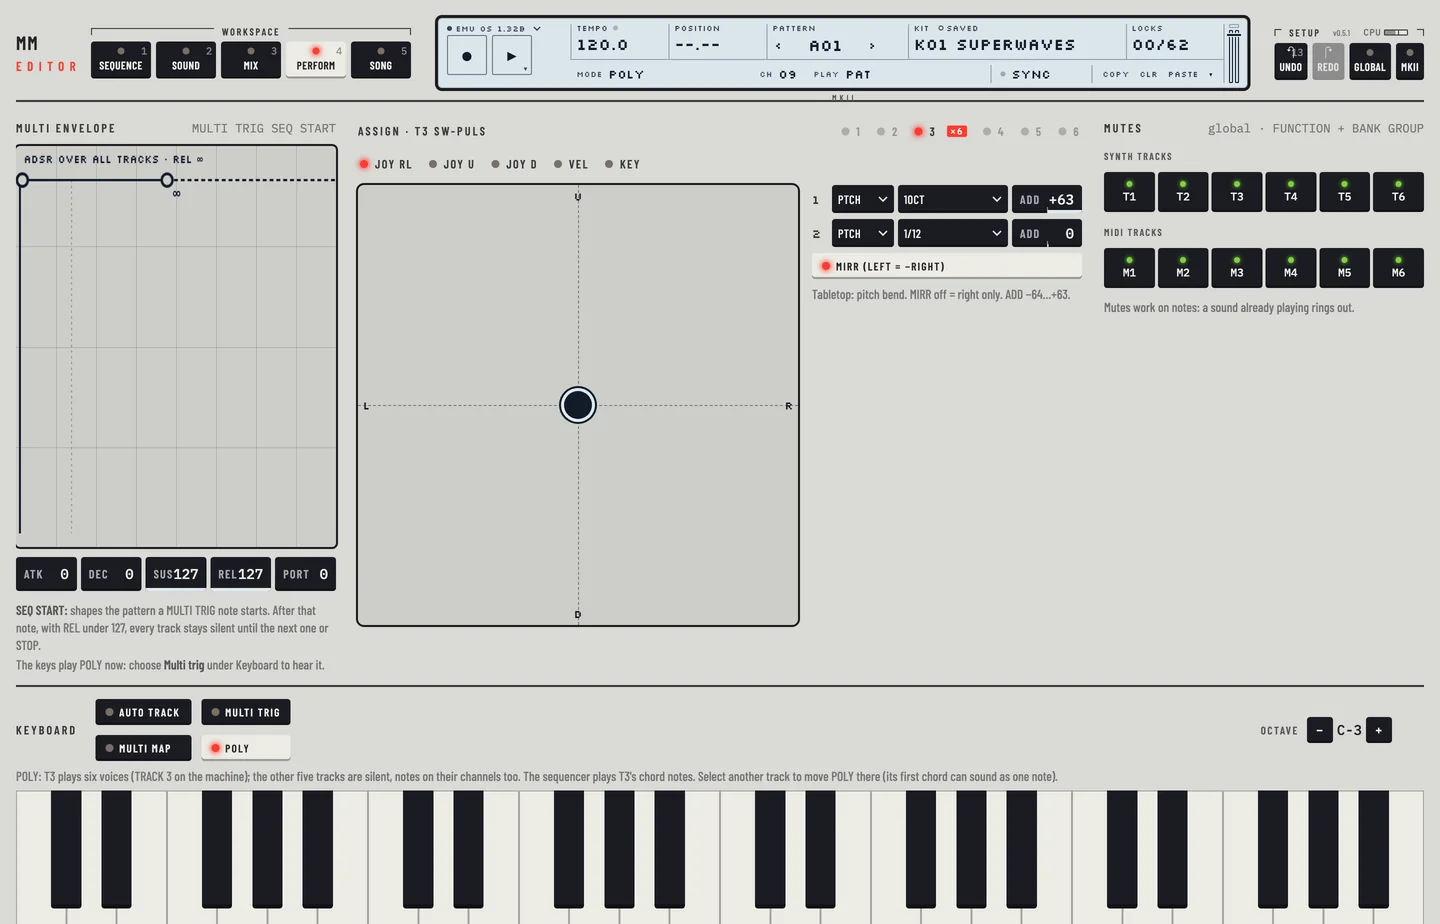
The line under the keyboard modes names the poly track and says that the others are silent. Its key in the Assign card and its lamp under the keyboard read ×6. The keys and lamps of the other tracks dim, and so do their rows in the rail on Pattern and Kit.
Select another synth track, in the Assign card or in the rail, and poly mode moves to it. The first chord on the new track can sound as one note. The chords after it sound in full. A MIDI track selected in the rail leaves poly mode where it is.
The editor follows the machine: press [TRACK] on the machine in poly mode, or switch poly mode on there, and that track is selected and shown as the poly track. If the machine is busy taking a dump, the editor cannot press [TRACK]: the page says so and keeps the track the machine plays.
On the Perform workspace the <MODE> field in the second line of the LCD reads POLY while the mode is on. Click Auto track to leave it.
MULTI TRIG MODE #
MM manual p.1-15
In multi trig mode one source plays all six tracks, as if they were one large mono synth. Click Multi trig in the Keyboard card. The mode takes its notes on MIDI channel 7.
Multi trig has four settings. Choose one with the keys in the title bar of the Keyboard card:
| Setting | What the keyboard does |
|---|---|
| ALL TRK | each note plays all six tracks; each track keeps its own arpeggiator |
| SPLIT KEY | keys from the split point play the tracks from Upper from to T6; keys below play the tracks before it |
| SEQ START | each note restarts the pattern, transposed from C-4 |
| SEQ TRNSP | the first note starts the pattern; later notes only transpose it |
In SPLIT KEY mode, drag the split marker on the keyboard to move the split point, and click − or + beside Upper from to set the first track of the upper zone. In the two sequencer settings, the Timing stepper sets when the change happens: DIRECT, or one of the values from 1/16 to 32/16.
Multi envelope
The Multi envelope card of the Perform workspace holds an ADSR that works on top of every track's own envelope. It has the values ATK, DEC, SUS, REL and PORT. Drag the dots in the plot or the value boxes. For no effect, set ATK to 0 and DEC, SUS and REL to 127. SPLIT KEY does not use it.
MULTI MAP MODE #
MM manual p.1-15
In multi map mode key ranges of the keyboard start patterns. Click Multi map in the Keyboard card. The mode takes its notes on MIDI channel 8.
The Multi map card lists the ranges. Each row has:
- the range of keys, its upper key set with − and +;
- the pattern to start, or CUR for the current pattern;
- OFS, the first step to play, and LEN, the number of steps. LEN needs an offset first;
- TRN, the transpose;
- the timing, which waits for a bar line.
Click Split selected range to add a range. Click the × on a row to delete it. The keyboard shows the ranges as bands with the pattern names. The ranges are stored in the global slot.
FIGURE 1 #
MM manual p.1-16
The manual's overview figure shows how the tracks, effects and outputs join. The Mix workspace draws this as a signal graph: a node for each track with its machine, three buses AB, CD and EF below, and the outputs at the right. Click a node to select its strip.