Global settings
The machine keeps eight global slots. One is active. The settings are on the GLOBAL page. Click Global in the top bar, or choose GLOBAL… in the engine menu. The page opens over the workspace, which dims behind it. Press [ESC], or click the key at the right of its head, to go back. A click beside the page does not close it.
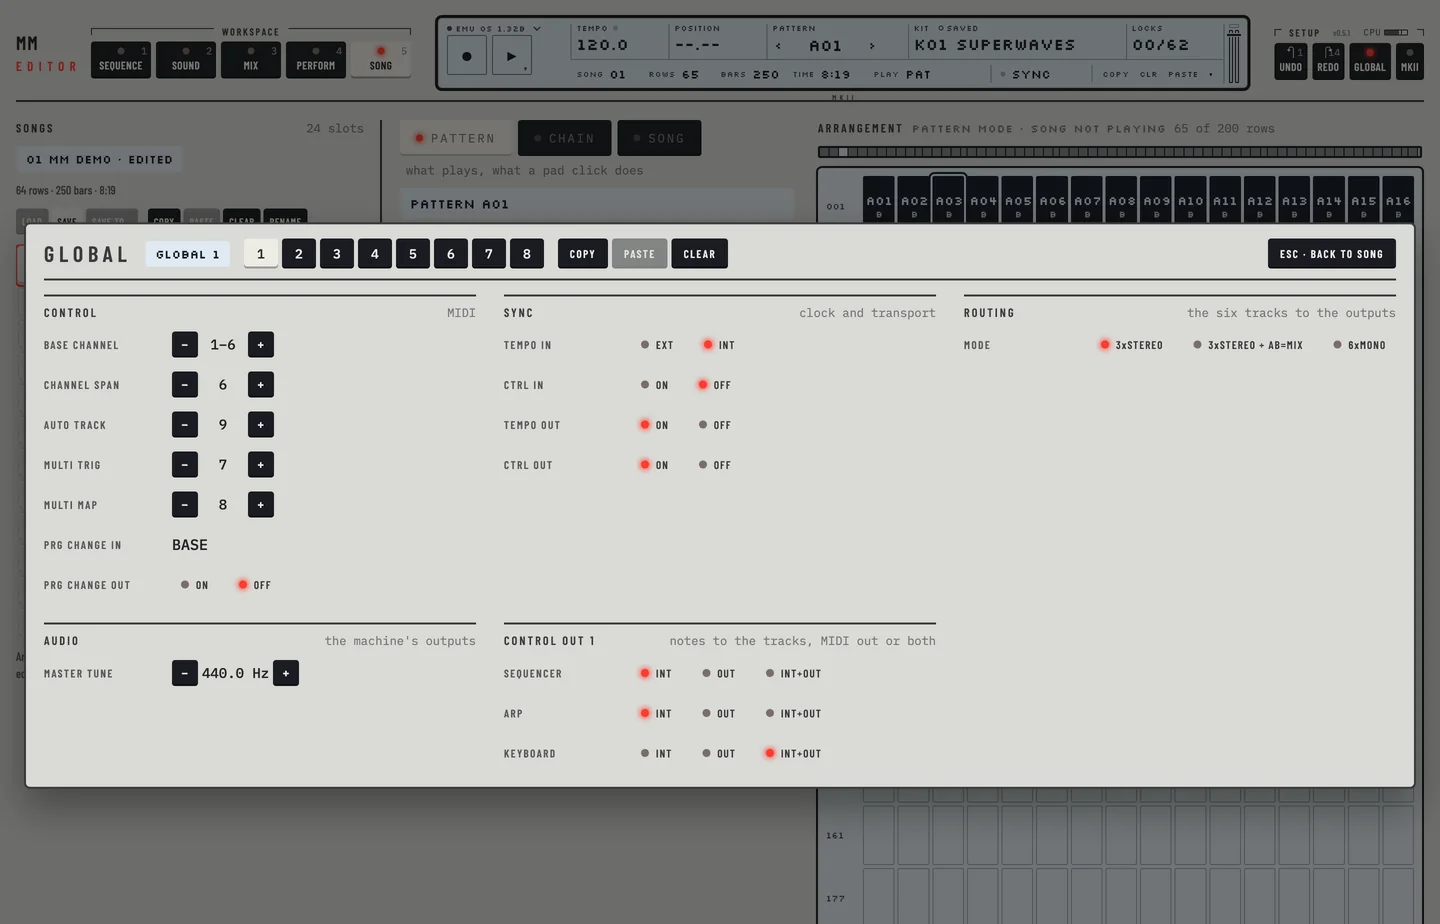
Every change is stored in the active slot and made active at once. The page has the cards Control, Sync, Routing, Audio and Control out 1.
GLOBAL SLOTS #
MM manual p.1-87
The head of the page holds the keys 1 to 8. The lit key is the active slot. Click another key to make that slot active.
To copy a global slot to another:
- Click Copy. The editor keeps all the settings of the active slot. Paste is now on.
- Click the key of the slot to copy to. It becomes the active slot.
- Click Paste. The editor asks first, because the settings of that slot are replaced. Click Paste to go on, or Cancel.
To clear the active slot, click Clear. The editor asks first. The slot then holds the global the machine ships with.
Undo takes back a paste or a clear, as any other edit.
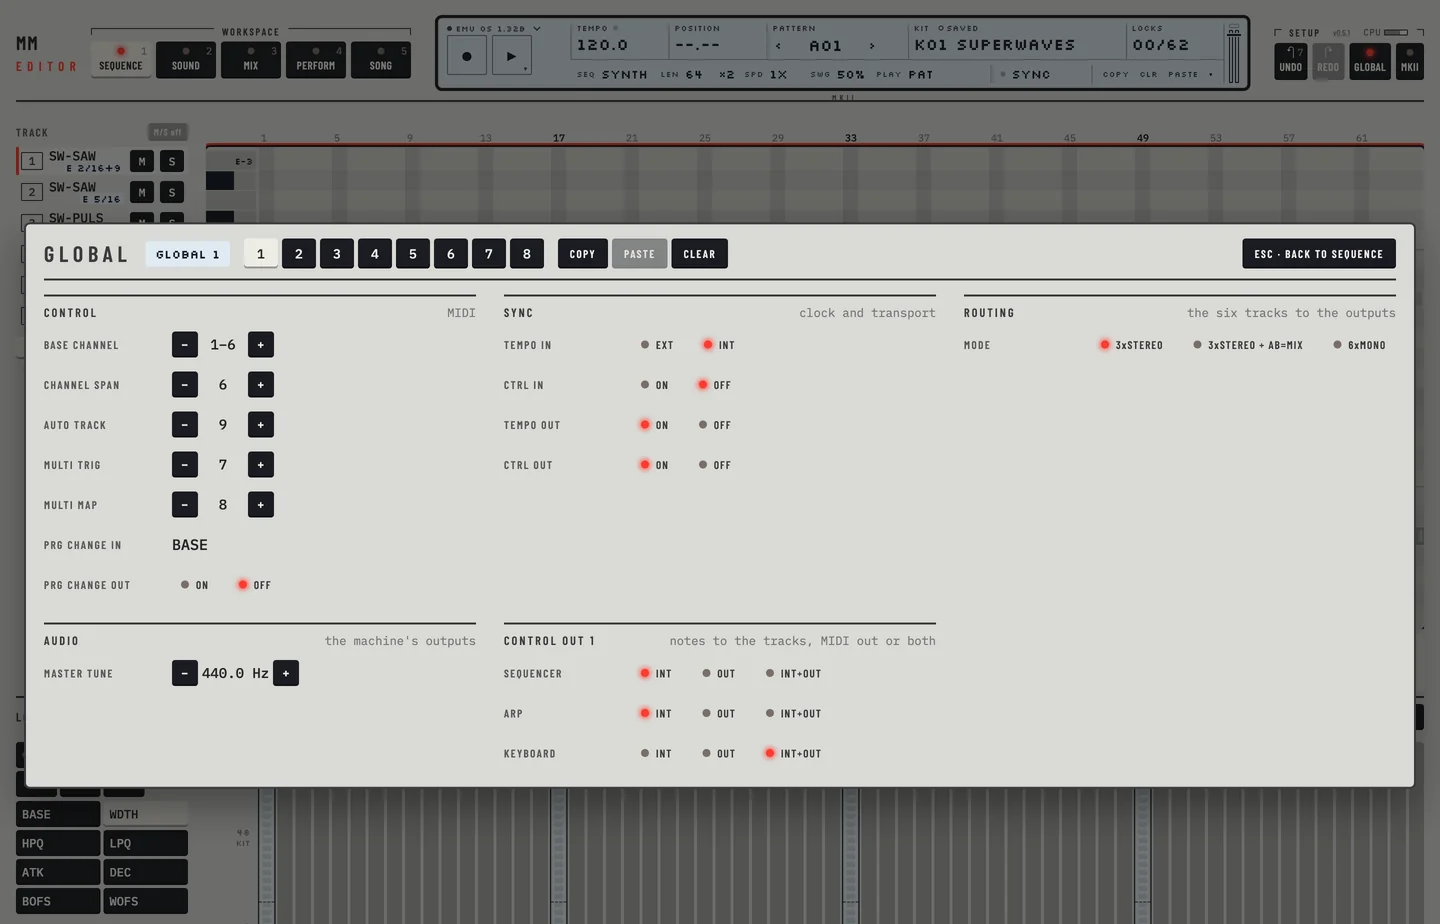
To clear a slot:
- Click Clear. The editor asks.
- Click Clear in the question. The slot holds the factory global again, and the page shows it.
AUDIO #
MM manual pp.1-88, 1-89
MASTER TUNE
The master tune sets the pitch of A for the whole machine. It is 440.0 Hz as the machine ships.
- In the Audio card, click − or + beside Master tune. Each click moves it 0.1 Hz.
- Hold [⇧] and click to move it 1 Hz.
The tune runs from 400.0 to 499.9 Hz, as on the machine.
ROUTING
The Routing card sets the routing mode: 3xSTEREO, 3xSTEREO + AB=MIX or 6xMONO. It is the same setting as the Routing bar on Mix. See chapter 18.
CONTROL #
MM manual pp.1-89, 1-90, 1-91, 1-92, 1-93
MIDI CHANNELS
The Control card sets the channels the machine listens on.
- Base channel: OFF, or 1 to 16. Track t listens on the base channel plus t.
- Channel span: how many tracks, counting from T1, have a channel of their own. 6 gives all of them.
- Auto track: notes on this channel play the selected track.
- Multi trig: notes on this channel play the tracks as the multi trig mode says (chapter 9).
- Multi map: notes on this channel start patterns as the multi map says.
Click − or + to change a value. The base channel reads as a range, for example 1 to 6, when the span is more than one.
To see what a track without a channel looks like:
- Click Global in the top bar and click − beside Channel span down to 0. No track has a channel, and the page says so.
- Press [ESC], and click M of a track on the rail. The editor refuses: nothing is muted, and the message offers the fix.
- Click Give each track its own channel. The span reads 6.
- Click M again. The track mutes.
A track has a channel only if its channel is 15 or lower. A base channel of 16 reaches no track. When a track has no channel of its own, the card says which tracks, and that mutes and notes cannot reach them. The editor then sends their sound values as kit dumps.
MORE ON THE MONOMACHINE MIDI FUNCTIONALITY
The machine takes NRPN control and uses program change to select patterns. Automation and MIDI from a DAW reach it as they reach the machine.
A note on a track's channel plays that track. Six notes sent at one moment, one on each of the six channels, play six voices. In a DAW each track also has host parameters for synthesis, amplification, filter, effects, the three LFOs, level and mute, so a lane of automation moves the knob. A program change on the base channel selects a pattern. When the host stops, the editor sends All Notes Off on every channel, so a held note ends.
CONTROL OUT1
Control out 1 sets where the notes of the sequencer, the arpeggiator and the keyboard go. The Control out 1 card has a row for each: Sequencer, Arp and Keyboard. Click one of:
- INT: the internal tracks play the notes. Nothing goes to MIDI out.
- OUT: the notes go to MIDI out only. The tracks make no sound.
- INT+OUT: both.
The machine ships with INT for the sequencer and the arpeggiator, and INT+OUT for the keyboard. The sequencer sends its trigs as NRPN on the base channel. The arpeggiator and the keyboard send notes. The keyboard is the TRIG keys of the machine.
CONTROL OUT2
The Sync card holds two switches for what the machine sends. Tempo out sends the MIDI clock. Ctrl out sends MIDI start and stop. They go to the standalone's MIDI output, or to the plug-in's MIDI output in a DAW. Do not feed that output back into an input of the same standalone, for example one IAC bus as both: the clock then circles. The AUDIO / MIDI panel warns about it. The Control card has Prg change out: choosing a pattern then sends a program change on the base channel.
CONTROL IN
- Tempo in: INT uses the machine's own tempo. EXT follows the MIDI clock.
- Ctrl in: ON makes the machine react to MIDI start, stop and continue.
- Prg change in: reads BASE. The machine always takes a program change on its base channel, so you cannot change it.
In a DAW a new plug-in sets Tempo in to EXT and Ctrl in to ON itself. With EXT the machine follows the host's tempo, loops and position. Set Tempo in to INT and the machine runs on its own clock there: no clock from the host reaches it and the host's Play does not start it. The project keeps the choice. In the standalone, EXT follows the clock that arrives at a MIDI input.
MULTI MAP EDIT
The multi map starts patterns from key ranges. It is on the Perform workspace, in multi map mode. It is stored in the global slot.
- Press [4].
- In the Keyboard bar, click Multi map.
- The table lists the ranges from the lowest key. Click − or + beside a range's upper key to move the limit. The last range always ends at G-9.
- Choose the pattern in the Pattern list. CUR plays the current pattern.
- Set OFS, the first step. LEN is the number of steps and needs an offset first. TRN is the transpose and TIM the timing.
- Click Split selected range to cut a range in two. Click × to delete a range.
Bands on the keyboard show the ranges. A key you play shows the pattern it starts.
The Pattern list of a range offers CUR and all 128 patterns, A01 to H16.
MECHANICAL SETTINGS #
MM manual p.1-94
Knob resolution, the velocity curve and the joystick mapping belong to the hardware. The editor has no setting for them.
FILE #
MM manual pp.1-95, 1-97
On the machine the FILE menu sends and receives SysEx. In the editor you write a .syx file on your computer, and you open one to send it to the machine.
Export
- Choose EXPORT SYSEX… in the engine menu (the engine name at the left of the LCD). The Export SysEx panel opens.
- All is ticked: every kit, pattern, song and global the editor holds goes into one file, as the machine's ALL.
- To choose, untick All. Each kind has its row: Kits, Patterns, Songs, Globals and Waveforms. Tick the kinds you want.
- Set the first and the last slot of each kind. Click a value to step it up, [⇧]-click to step it down, or turn the wheel, drag up or down, or use the arrow keys. A kind with data starts from its first to its last used slot.
- Click Save .syx… and choose where to put the file. A message says what went into it.
Import
- Choose IMPORT SYSEX… in the engine menu, or drop a .syx file on the window (macOS only).
- The import window previews the file. It has a tab for each kind: Kits, Patterns, Songs, Globals and Other.
- A slot grid shows the slots. A click leaves a slot out or takes it in again. Hold [⇧] and click to choose a range.
- Click Import. The window shows a bar. Stop ends the import, Hide puts the window away. The import goes on: IMPORT SYSEX… in the engine menu shows the window again, with its report when it is done. While it runs, [ESC] and a click beside the window leave it open.
- A report lists what the machine did with each slot.
The tick Read back and compare, beside Verify only, is on at first and stays as you set it. With it on, the import reads every slot back after it sends and compares it with the file. With it off, the import ends after the send. The report then says how many items were sent and that they were not read back.
Globals and other messages are off unless you tick them. Importing a global changes the channels the machine listens on. Undo takes an import back in one step, but it does not put back a global. Before it sends, the editor reads the slots it has not read yet. If a slot does not answer, the report ends with how many slots cannot be undone. Use Export SysEx… first to keep a copy of the globals in a file.
Original and specific place
The Place row under the grid has two keys. Original place, the default, puts each item in the slot it came from, as ORIG.
Specific place is SPEC. A value shows the first slot of the kind on the tab, for example Kits from K01. Step it as any value. The grid moves the items to where they land, each kind from its own first slot. When an item lands on a slot that holds data, Import asks first and names the slots. An item past the last slot is not sent.
Verify only
Verify only, beside Import, is VERF. It writes nothing. The editor reads each slot the items land in and compares it with the file. The report marks = the same, ≠ different and ? no answer. Verify only reads the slots whatever the state of Read back and compare.
The machine's SYSEX RECV screen
The Monomachine takes a dump only on its SysEx receive screen. The editor opens it for you. With a real Monomachine over MIDI, the sync field on the second line of the LCD reads SEND and the number of waiting edits. Click it and follow the steps.
DIGIPRO MANAGER #
MM manual p.1-99
The DigiPRO manager of an MKII sends, receives, renames and erases user waveforms. In the editor it is the DigiPRO card at the bottom of the GLOBAL page. Click GLOBAL in the top bar to open it.
The card shows the 64 positions, W01 to W64, as the machine counts them. A user waveform shows a u and its name. A position without one holds its factory waveform. The first time you open the card, the editor reads the positions from the machine. This takes a while: a factory waveform answers nothing, so the editor waits for each one. Click Read to read them again.
Click a position to select it. The card draws a user waveform and shows its name.
Receive waveforms
- Select the position the first waveform goes to.
- Click Load… and choose a file. A .syx file holds one waveform or a bank of them. A WAV or AIFF file must hold one period of the sound, as C6 expects. The editor names it after the first four letters of the file name.
- The editor lists where each waveform goes and which user waveforms it replaces. Click Load, or Replace.
The editor opens DIGIPRO MGR on the machine, sends the waveforms, writes them and reads the positions back. The waveforms of a bank go to the selected position and the ones after it. Those that would go past W64 are left out.
Send waveforms
Select a user waveform and click Save .syx…. [⇧]-click Save .syx… to save every user waveform as one bank. The machine sends user waveforms only. Export SysEx… in the engine menu saves them too: tick Waveforms and set the range.
Rename a waveform
- Select a user waveform and click Rename.
- Type up to four characters: A to Z, 0 to 9, space and - + . / #. Press [ENTER].
Copy a waveform
Select a user waveform and click Copy. Select another position and click Paste. The editor asks first when that position holds a user waveform.
Erase waveforms
Select a user waveform and click Erase. The editor asks first. The factory waveform of that position comes back. [⇧]-click Erase to erase every user waveform.
Undo on the card takes back the last change to the waveforms. [⌘] + [Z] does not reach them: they are not part of a kit, a pattern, a song or a global.
Digibanks belong to the +Drive, which the editor does not emulate. A bank file on the computer takes their place: save one with [⇧]-click Save .syx…, load it with Load….
+DRIVE SETTINGS #
MM manual pp.1-105, 1-106, 1-107
The +Drive, its snapshots and its Digibanks are hardware. The editor does not emulate them.
MIDI SEQ #
MM manual pp.1-108, 1-109
The channel of each MIDI track, and the controller numbers CL1 to CL4, are on the MIDI page of Pattern. See chapter 16.